


[ad_1]
Prepared for a enjoyable melt-and-pour soap project? These simple loofah soaps not solely look and scent superb, however they’re additionally good for a little bit of exfoliation whilst you lather up within the tub or bathe. Plus, they make good homemade beauty gifts!
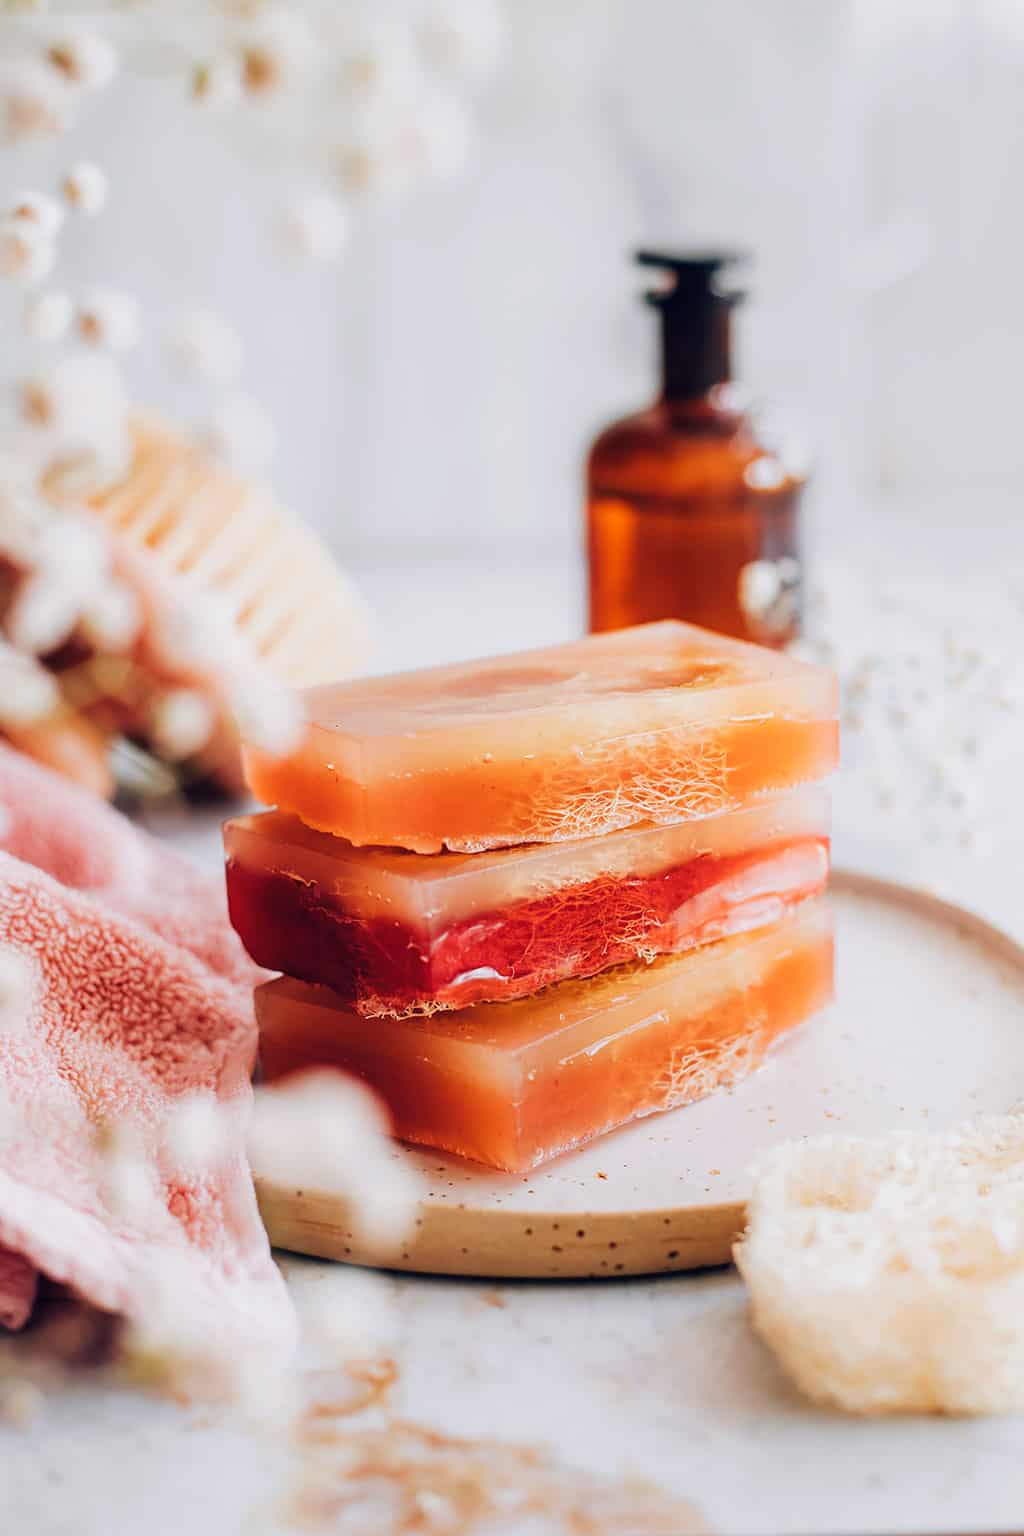
DIY Soften-and-Pour Loofah Cleaning soap
What You’ll Want
–2 lbs clear melt-and-pour soap base
–1 dropper
–1 spray bottle (for rubbing alcohol)
–2 heat-safe glass containers
–2 spoons
–Scissors
–Paper towels
–Rubbing alcohol
–8 cleaning soap molds with lids
–1 oz fragrance oil
–1 electric bubble gum color block

Loofah Cleaning soap Directions:
Loofah Prep
Lower the dry loofah sponge into 8 even items by chopping as soon as vertically, then chopping every half into 4 items. Subsequent, add the loofah sponge items to water to reconstitute and take away any seeds as wanted (it is a pure vegetable product, so you could have seeds). Towel dry every loofah piece to take away extra water. Put aside.
Rubbing Alcohol Prep
Add rubbing alcohol to the two oz spray bottle. Spritzing the melted cleaning soap with rubbing alcohol eliminates air bubbles.
1. Lower the cleaning soap base into 1-inch cubes and divide equally into 2 microwave-safe glass containers.
2. Soften the primary container of cleaning soap within the microwave with 30-second bursts, stirring in between bursts with a spoon till the cleaning soap is absolutely melted.
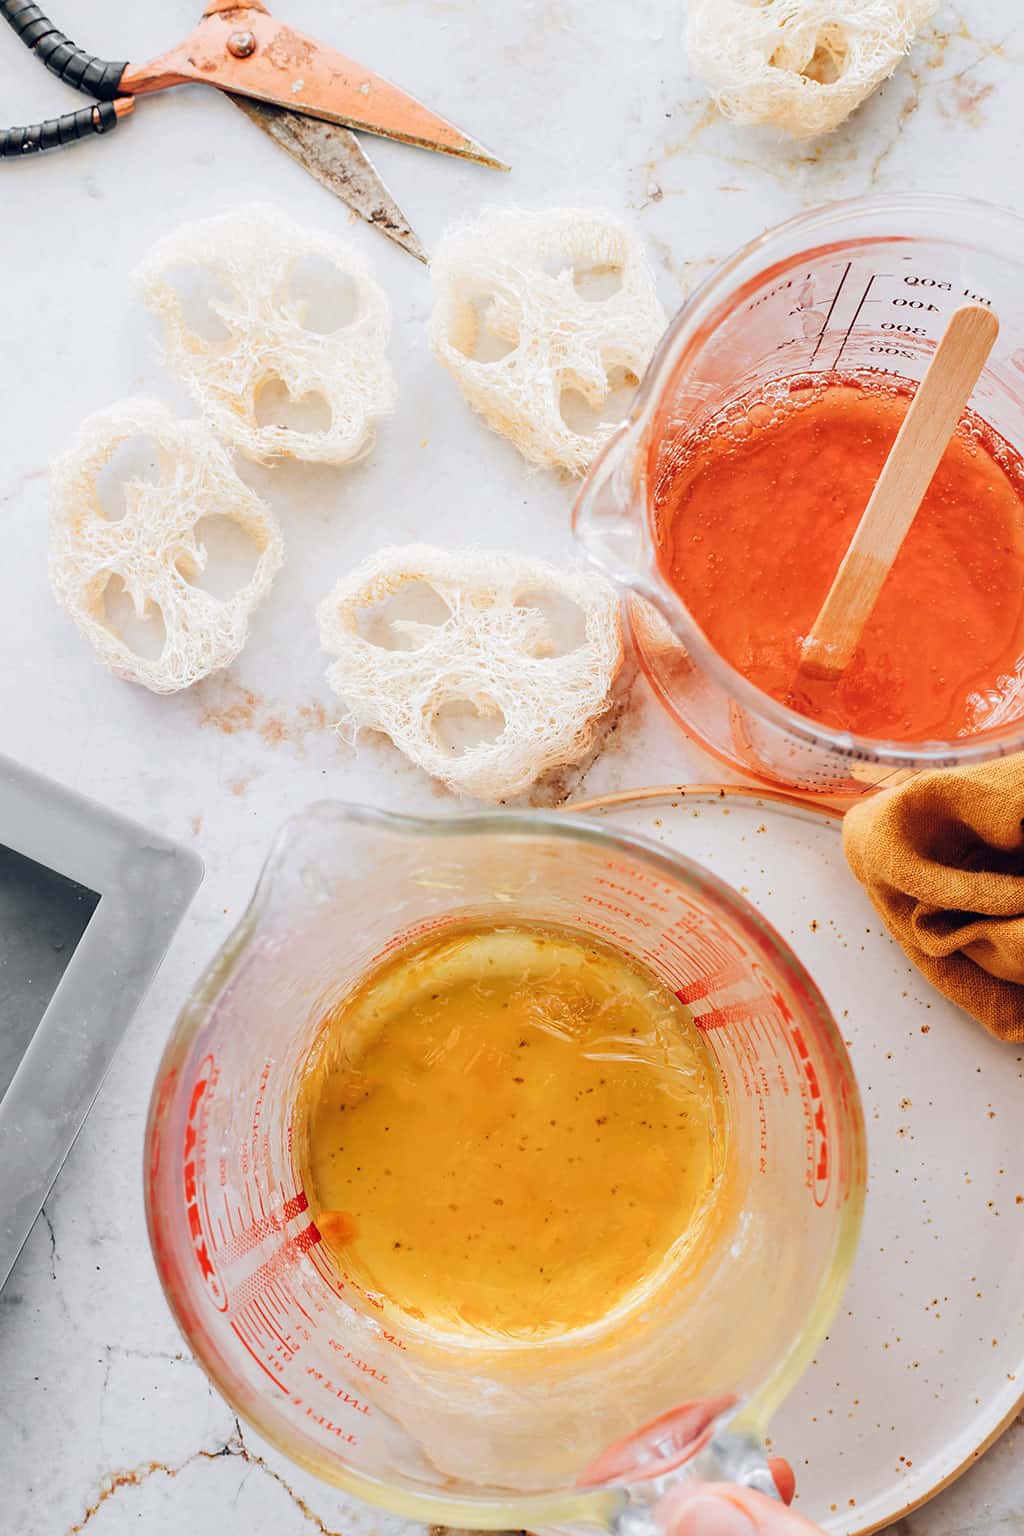
3. Slice off a sliver of the orange colour block, and blend a small quantity into the primary container of melted cleaning soap till you obtain a vivid orange hue. What you see is what you get with these colorants, so be at liberty so as to add extra if you need a brighter colour.
4. Add 4 droppers stuffed with perfume oil to the melted orange cleaning soap base, and stir till the perfume oil is absolutely distributed (about 12 mL).
5. Repeat steps 2, 3, and 4 utilizing the electrical bubble gum colour block and your second container of cleaning soap.
6. Place 1 loofah sponge in every rectangle mildew. It’s okay if the loofah sponges are nonetheless a bit damp. Trim the sponges if wanted.
Ideally, we wish each containers of cleaning soap at about the identical temperature after we pour. You probably have a thermometer, the magic temperature is about 130°F.
If you happen to don’t have a thermometer, no drawback. Let the cleaning soap settle down till it will get a bit bit thicker and begins to kind a “pores and skin” on prime.
The cleaning soap shouldn’t be sizzling. If the cleaning soap cooled down an excessive amount of, simply pop it again within the microwave for one more couple of 30-second bursts.
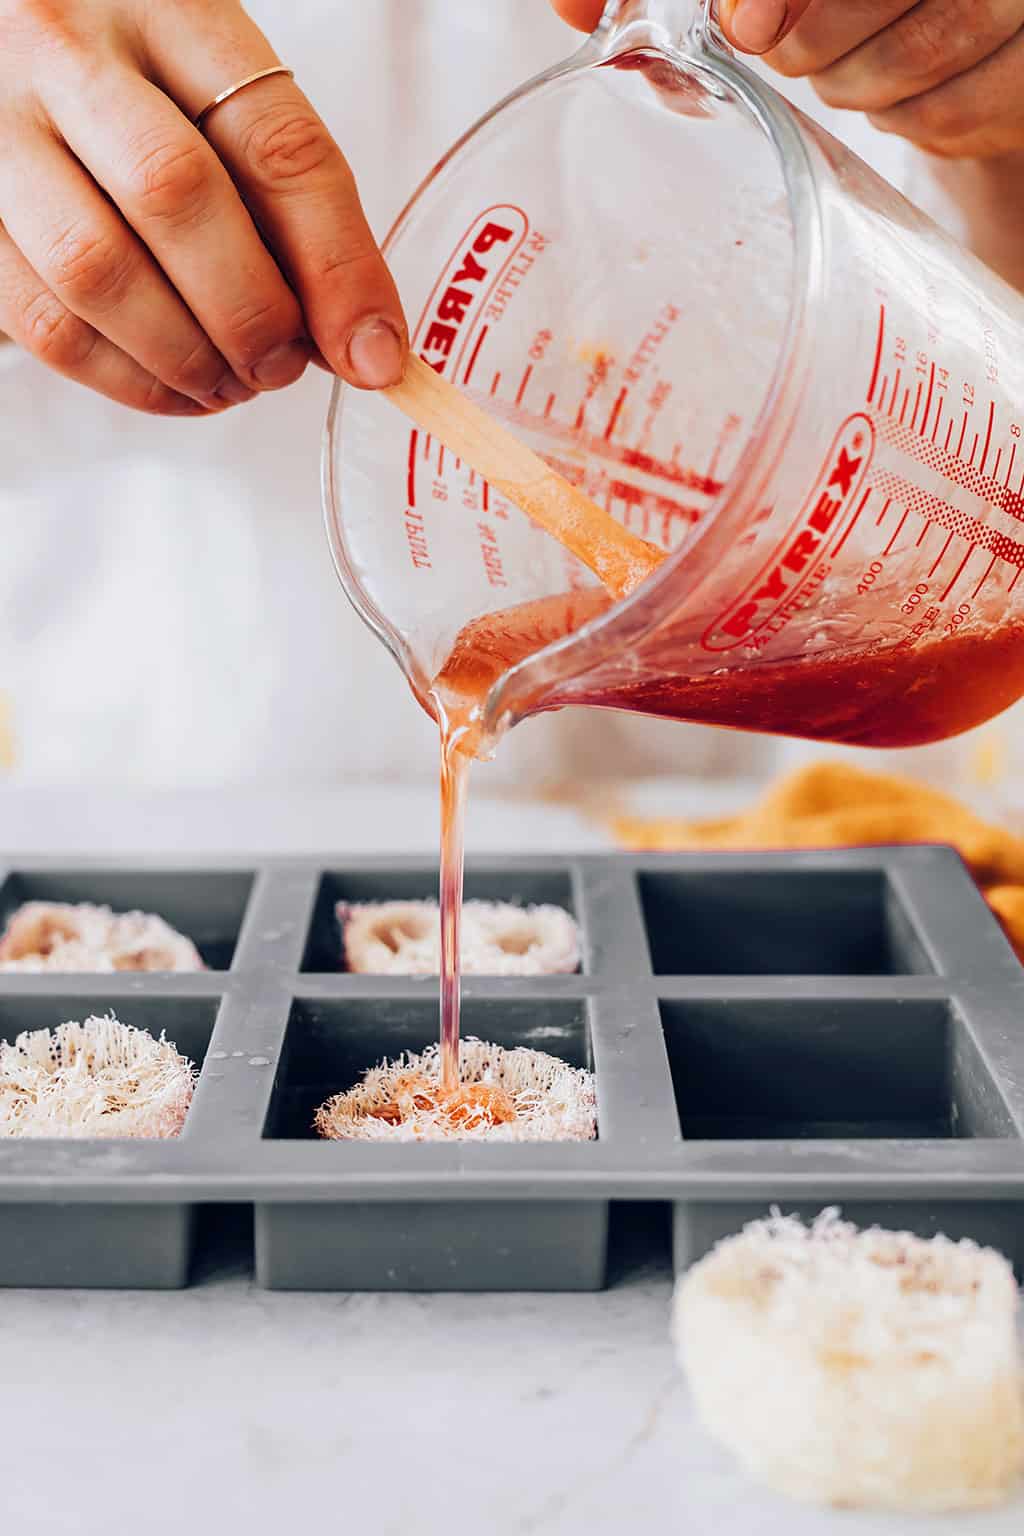
7. The colour fusion approach is all concerning the “pour.” Pour the pink cleaning soap into 4 molds, filling the molds solely midway.
8. Subsequent, pour the orange cleaning soap on prime of the pink cleaning soap to fill the mildew all the best way to the highest. Repeat this step for the remaining 4 cleaning soap molds, pouring the orange cleaning soap first and the pink cleaning soap second. Spritz all the soaps with rubbing alcohol to eradicate bubbles.
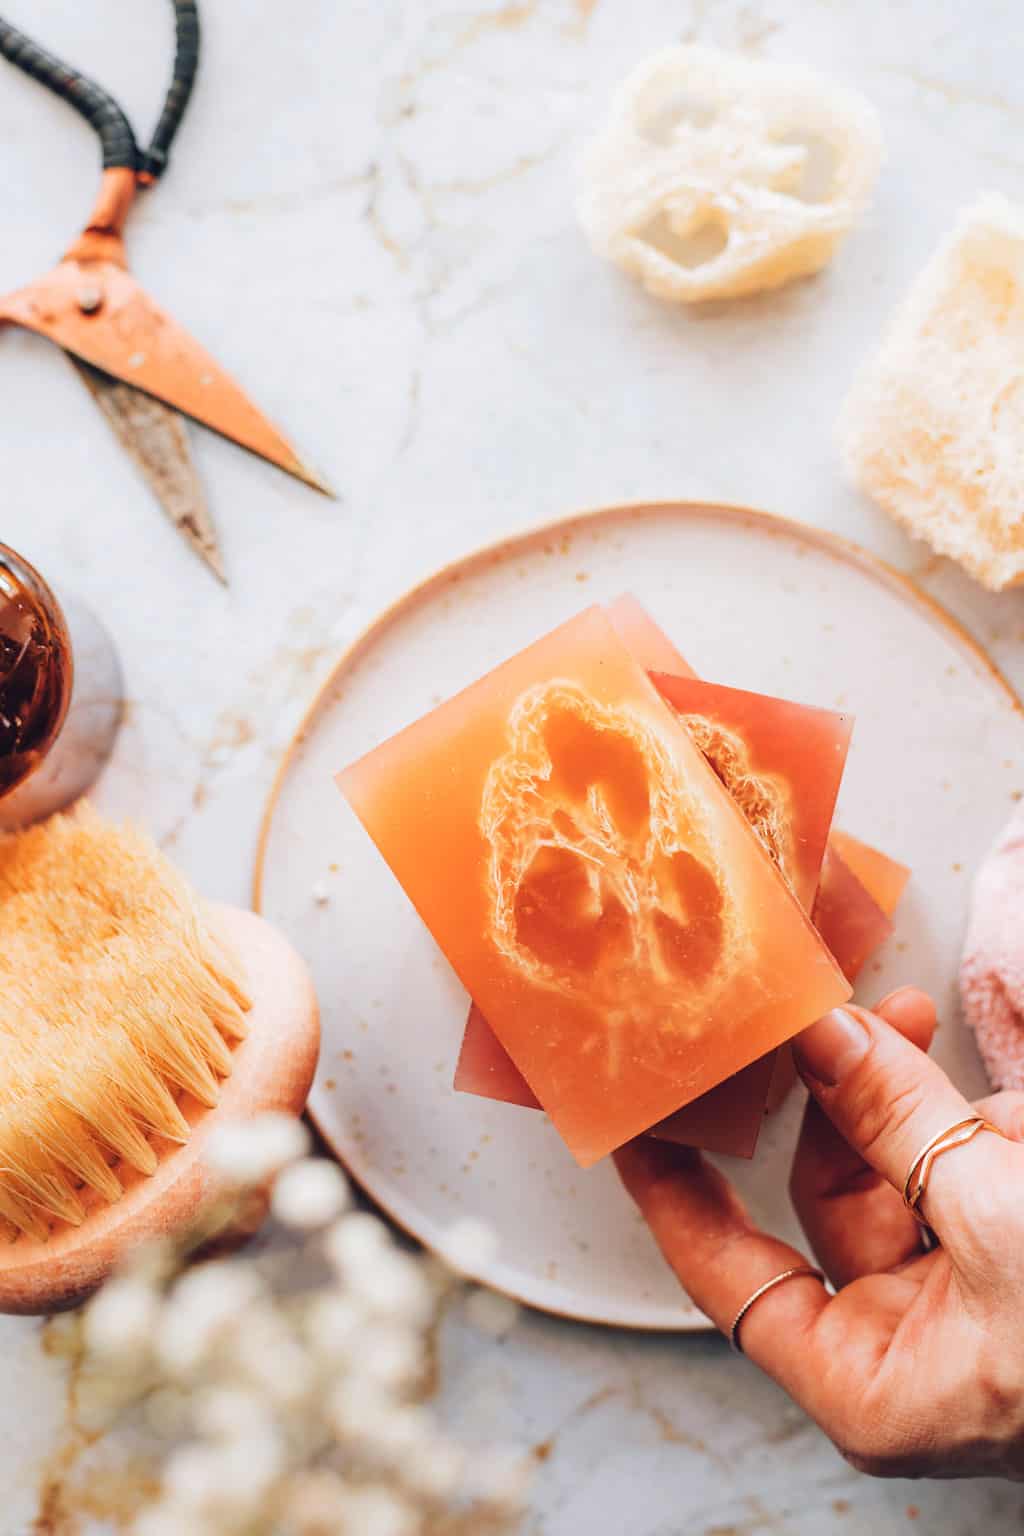
9. Let the cleaning soap harden for 12–24 hours earlier than unmolding. The cleaning soap is able to use straight away, or add the raffia and labels to the cleaning soap mildew and provides them away as presents. Your family and friends will love you!
[ad_2]
Source link


